Perfect pour-over coffee might seem a little tricky but is certainly within reach for anyone who follows these simple steps. There are so many reasons for brewing coffee manually with a pour-over but I always like to focus on the main reason which is deeply personalized rich and flavorful coffee.
Every time you brew a cup of coffee with a pour-over you have full control over a number of variables. Things like coffee ground size, water temperature, the duration of extraction, and the actual model of your coffee maker will all have an effect on the personality of your final brew.
Just like most manual coffee makers, a pour-over can be a little tricky in the beginning but as you get used to the variables involved you will start to fine tune each brew into your ideal cup of joe.
What We’ll Be Using
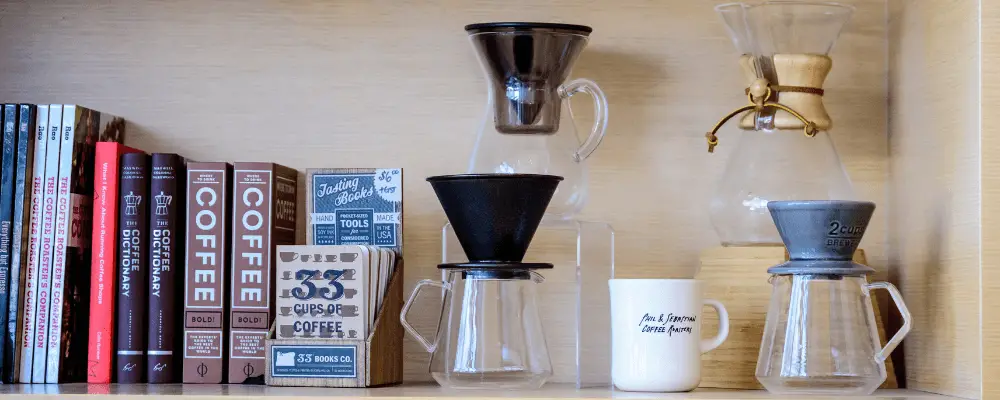
A pour-over coffee maker
Obviously, to make pour-over coffee we will need to use the right equipment. If you have one at home follow along with the instructions. If you’re looking for one or are thinking about upgrading take a look at my list of the best pour-over coffee makers.
20oz(600ml) of filtered water
I always suggest using filtered water for manual coffee brewing techniques. If you are sure the tap water is safe in your area then go ahead and feel free to boil it. If you don’t have a water filter you can use bottled water as well.
3 tablespoons of coffee (30g)
Everyone has a coffee they like and that’s completely fair. I personally like to use Verna Street Nine Mile Sunset Dark Roast with my pour-over. If you’re interested in more fantastic coffee beans that complement the pour-over take a look at my coffee bean hitlist!
Water kettle
This brewing technique works best with a gooseneck kettle because of the slow pouring technique. If you don’t have one make due with what you have available.
Paper coffee filter
Not everyone uses paper filters. Some like to brew using stainless steel meshes instead. Both work fine with a pour-over.
Optional Equipment
A digital scale
It’s a good idea to use a scale when brewing using a pour-over. If you ever see a barista in action they always scale the coffee beans and water to achieve the ideal brew every time.
Burr coffee grinder
Burr grinders tend to provide a more uniform coffee grind. In case you need a refresher on the differences between burr and blade coffee grinders, you can find it here.
A Timer
We will be timing a few parts of the brewing process to make the perfect pour-over coffee so a timer will come in handy. If you don’t have a timer in your kitchen you can use your phone or just count in your head.
Step 1: Boil Water
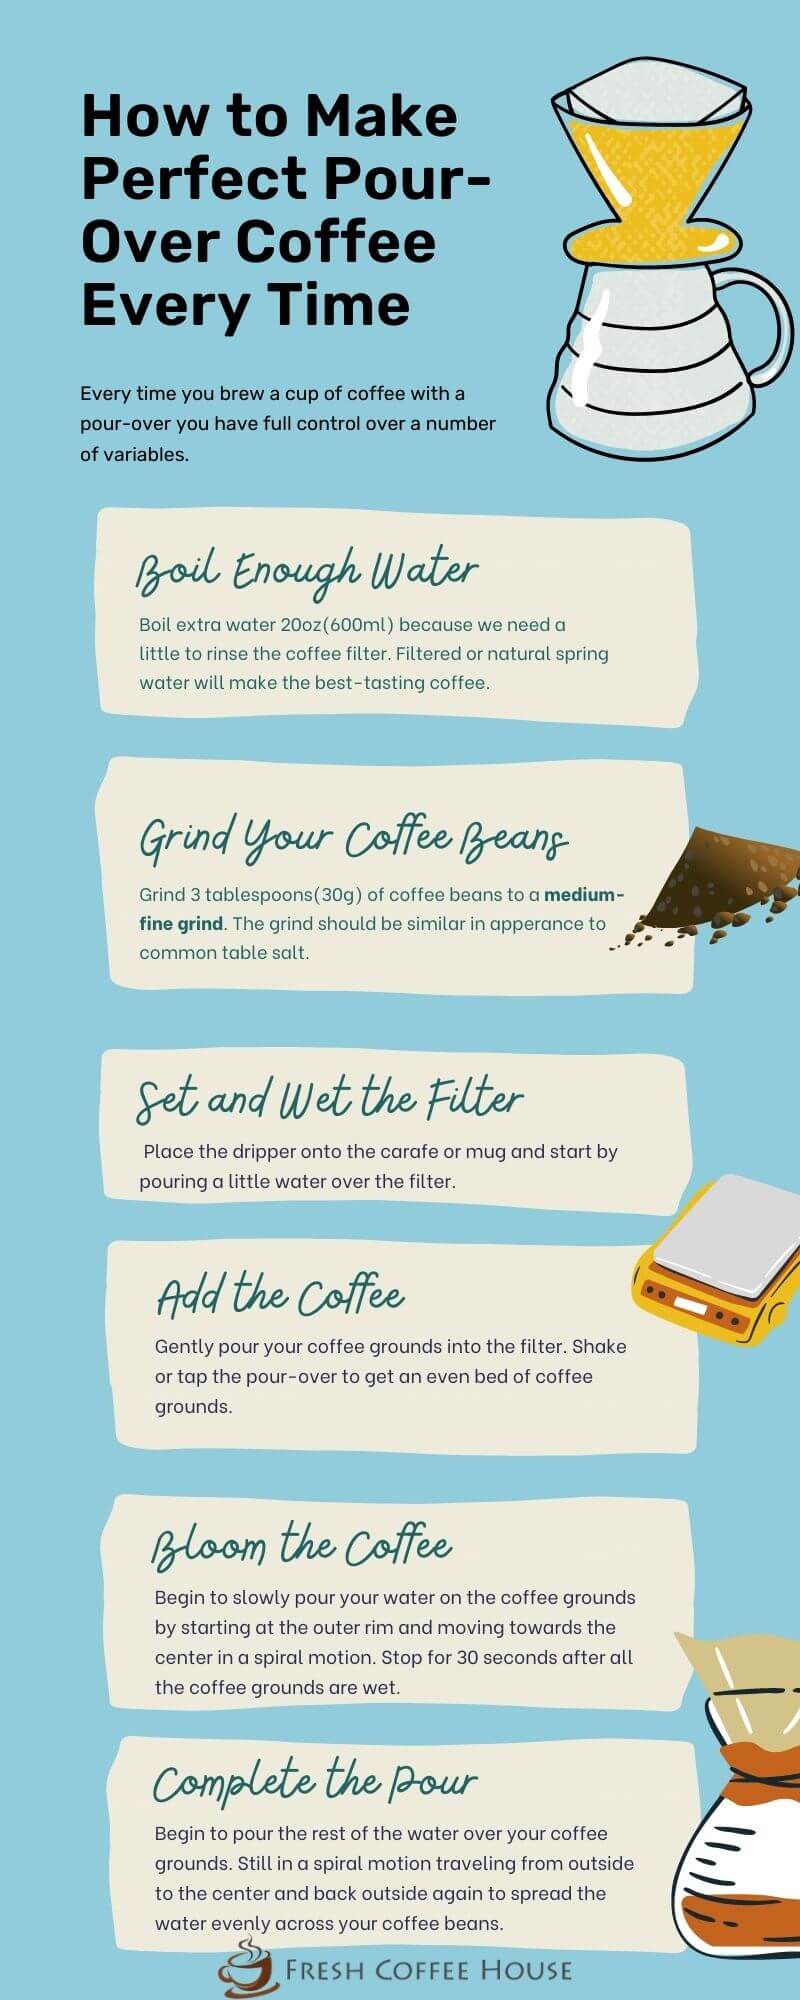
Let’s begin by boiling the right amount of water. For our example, we will use 16oz(500ml) of water to brew two cups of coffee. I always boil extra water 20oz(600ml) because we use a little to rinse our filter.
I personally like to use a thermostat to measure the temperature of my water before pouring it onto my coffee grounds. The ideal temperature we’re aiming for is between 190 – 200 degrees Fahrenheit(92°C).
If you don’t have a thermostat, a good practice is to let your boiled water sit for 30 seconds before pouring it over the coffee to avoid charing the beans.
Step 2: Grind Your Coffee Beans
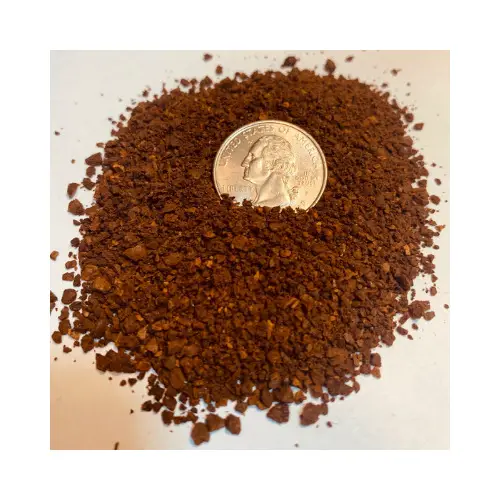
Here we need to grind 3 tablespoons(30g) of coffee beans to a medium-fine grind. Try to make your grounds resemble the consistency of table salt and make sure the grind is even throughout the batch.
A couple of things to know about the grind size for a pour-over coffee maker, the grind size will affect the coffee flavor as well as how long it takes for you to get your cup ready.
When using a cone-shaped brewing pot being with a medium-fine grind and see how the coffee tastes.
If the coffee you made is too bitter work with a coarser grind but if you’re finding it too sour, grind the coffee a bit finer.
Step 3: Set and Wet the Filter
If you’re using a paper filter, place the filter into the pour-over dripper. Place the dripper onto the carafe or mug you’re using to capture the coffee and start by pouring a little water over the filter to make it stick to the walls of the dripper. If you need a little help with making your filter stick to the sides take a look at this helpful guide.
Some pour-overs use reusable steel filters instead of paper ones. In this case, it can be a good idea to rinse the boiling water through the filter to clean it out and warm up your carafe before you start brewing the java. I wrote more about this topic further on in the article.
Dispose of the water in the carafe before you begin to make your coffee.
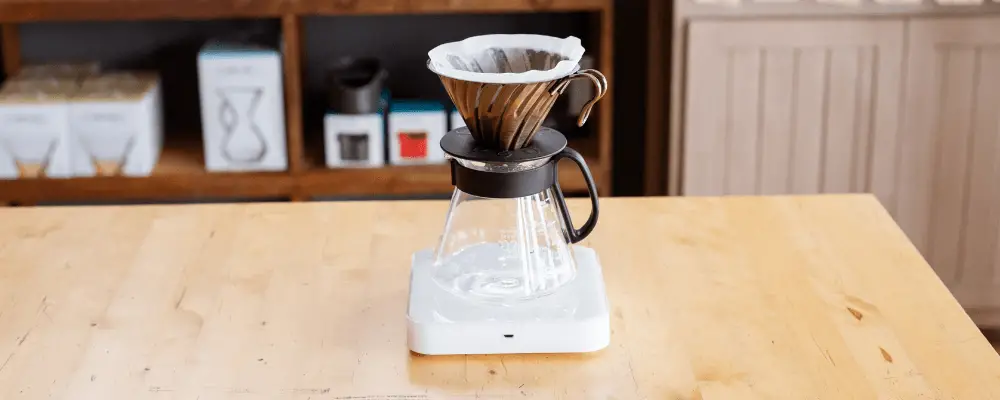
If you have a scale, place the coffee maker on the scale now and make sure it’s set to zero.
Step 4: Add the Coffee
Gently pour your coffee grounds into the filter. Shake or tap the pour-over to get an even bed of coffee grounds but remember not the push or compress them down.
This step seems simple but cannot be overlooked. The even layer of coffee will provide a consistent extraction through the brewing process.
Step 5: Bloom the Coffee (1st of 3 Pours)
As you start your timer, begin to slowly pour your water on the coffee grounds by starting at the outer rim and moving towards the center in a spiral motion. Continue to pour the water over the coffee beans until they are all saturated. This pour should take you roughly 15 seconds.
If you’re using a scale, you should be at 60 grams. Make sure all the coffee is covered in water even if you need to go over the recommended weight.
Continue to wait for another 30 seconds after the first pour before adding more water.
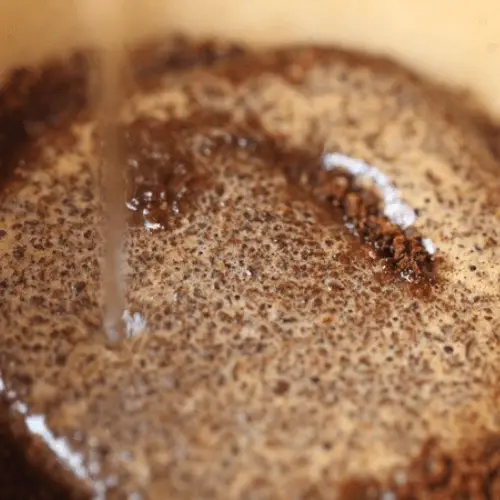
This initial soaking is called blooming. It begins the coffee extraction process while also allowing the beans to release any unnecessary CO2 remaining from the original roasting.
You shouldn’t see much dripping through the pour-over at this stage. Instead, you should see the coffee grounds grow in size, hence the term “blooming”.
Step 6: Add Water (2nd of 3 Pours)
Roughly after 45 seconds, begin to slowly pour 7oz(200ml) of water over the coffee grounds. Remember to maintain the spiral motion to spread the water, and extraction, evenly across your batch.
You should be pouring water over the coffee for roughly 30 seconds. There should be enough water to cover all of the coffee. Make sure that none of the edges are dry. Stop for another 50-70 seconds. Allow the coffee to begin the brewing process.
If you have your brewer on a scale you should be aiming for 150 grams at this point.
Step 7: Complete the Pour (3rd of 3 Pours)
Begin to pour the rest of the water over your coffee grounds. Still in a spiral motion traveling from outside to the center and back outside again to spread the water evenly across your coffee beans.
It should take between 3 to 3.5 minutes for gravity to do its thing and pull all the water down from the filter into your carafe or mug. Once the water has finished dripping down from the filter your batch of coffee is ready to be consumed.
What Is ‘Blooming’ and Is It Important?
During the blooming process, coffee grounds, or beans, come in contact with water and release their excess carbon dioxide which they absorbed while being roasted. As the coffee releases its gas, it expands hence the term blooming.
The reason blooming coffee is so important is because CO2 tastes sour and significantly alters the taste of your brew. This process gives coffee grounds a chance to release the gas before it infuses into your drink.
Paper Filter or Stainless Steel When Using a Pour-Over?
Some people may ask, what’s the point of using a paper filter when the pour-over already has stainless steel filter? The paper filters tend to offer a smoother, cleaner taste because they capture more of the oils your coffee beans release during the brewing process.
On the other hand, a stainless steel filter offers more of a robust taste with some fine grounds on the bottom of the brew. The choice is yours on wheater to use a paper filter or just the mesh itself. I suggest trying both options to see which one suits you better.
How to Adjust the Variables in a Pour-Over
Water
The water you use can make or break your final brew because it makes up 99% of your coffee. If you know that your tap water is safe to drink, use cold water fresh from the tap. It’s a good habit to let the water run for a few seconds first. Filtered or natural spring water will provide the best-tasting coffee.
Grind Size
For best results when using a pour-over you need to use coffee ground medium-fine, it’s similar in appearance to common table salt. That’s because the flavor extraction process needs the correct water surface area to be fully effective.
Leaving the grind too coarse will result in a weaker brew, on the other hand, a grind too fine will result in bitter-tasting coffee. To get the most consistent outcome I recommend using a burr grinder.
Best Coffee to Water Ratio for a Pour-Over
I recommend using 1.5 tablespoons of coffee beans for every 1 cup of coffee you want to brew.
In our example which makes 2 cups of coffee, the numbers were: 30 grams(3tablespoons) of coffee for every 16oz(500ml) of water.
How to Store Your Coffee Beans
Since using fresh coffee beans can make all the difference I recommend a good strategy for keeping your beans fresh. If you’re interested in keeping coffee at its fullest potential, here is a helpful guide on keeping coffee beans fresh for longer periods of time.
Quick Notes
To make the perfect pour-over coffee you’ll want to follow these simple steps:
- Boil water. Preferably filtered.
- Let the water sit for 30 seconds after boiling.
- Grind your coffee beans to a medium-fine grind.
- Set and wet your filter into the pour-over
- Add the coffee grounds.
- Pour enough water into the filter to saturate the coffee.
- Allow the coffee to bloom.
- Slowly pour the rest of the water on the coffee allowing for the java to brew.
- Serve hot and fresh.
Summary
If you follow this easy guide, you’re going to become a professional pour-over brewer in no time. There are a few variables to work with, and a little more babysitting involved when compared to an automatic coffee machine but that’s what it takes to make really personalized coffee.
A pour-over will make coffee that’s vibrant and smooth. I think you will notice a much less bitter flavor than the same brew in a French press. That’s because of the paper filter used in the pour-over method. It stops some of the natural coffee oils and elements from reaching your brew.
If the coffee you’re making doesn’t come out just right the first time don’t get discouraged. No coffee enthusiast made perfect pour-over coffee on their first attempt. The cool thing about this technique is all the variables you can tweak or avoid to find your perfect cup. You can even think of it as making your own personal type of coffee that can be passed down from generation to generation.
Related Questions
Can You Use Espresso Coffee Beans in a Pour-Over?
Yes, technically you can use any coffee beans in a pour-over. For best results you want the coffee beans to be freshly ground. Avoid using the preground stuff for manual coffee brewing techniques.
If you’re looking for a great bean to try in your pour-over give Verena Street: Nine Mile Sunset Dark Roast a try. It’s definitely the best coffee I’ve ever had in a pour-over and it tops the list of my Best Coffee Beans Ideal for a Pour Over list you can check out here.
What is the Best Pour-Over Coffee Maker?
Bodum is without a doubt one of the most trusted names in the coffee community because of the quality of their coffee makers. They’ve made another beauty with this pour-over.
From the first time you hold the heat-resistant glass in your hands, you can feel the quality of the design. The coffee you get with this gem is sublime. It’s rich, flavorful, and pronounced. Exactly what you would want from a pour-over.
I put together a list of all the best pour-over coffee makers for you to try.
What’s So Different Between Coffee Made in a Pour-Over and French Press?
Coffee made in a pour-over will be smoother and less bitter than the same batch brewed in a French press.
That’s because of the paper filter used in the pour-over method. It stops some of the natural coffee oils and elements from reaching your brew.
I have a whole article dedicated to the subject if you’re interested in learning more.
I’ve always seen coffee as a way of bringing people together. Everywhere I go people seem to enjoy a fresh cup of coffee and that’s what drives my passion. There’s always a new brew to master, and there’s always a new face to enjoy it with. Hitch a ride with me on a coffee-fueled adventure to find a perfect cup.


